

Contents
The Template I Use to Help in Making a Good Looking Blog Post
Blogging is hard. I’m not going to lie. Choosing the blogging platform (CMS) you should use, coming up with ideas, writing content, creating headlines, finding or creating images or videos, SEO… MG!
“Your post should display how much of a professional writer and blogger you are! The more professional your post looks the more respect and trust you will earn! ” ~ Phillip Dews
Why a Professional-Looking Blog Post Matters
If you have a WordPress Blog, and have decided that you are willing to INVEST in your “Inbound Marketing” with a “Content Marketing” Campaign, then you will want to know how to create a good-looking blog post.
This may be the #1 question that I get from my real estate clients. I created an e-book called the Simple Guide to Real Estate Blogging to help answer this question.
Download The Simple Guide to Real Estate Blogging
by Jason Fox
*You will need to subscribe to get access to the Simple Guide to Real Estate Blogging and over 100 more Marketing eBooks, Guides, and White papers
Pro Tip: To make the blogging process easier, consider using AI tools like Grammarly or ProWritingAid for grammar and style checks. These tools can help ensure your posts look professional, polished, and SEO-friendly, which is essential to building credibility with your readers.
This post assumes that you already have a WordPress Blog, and that you have the idea and content for the post. You just want help in getting that idea onto your WordPress Website as a Good-Looking Blog Post.
Key Takeaways
- Learn how to structure a professional real estate blog post that engages readers and builds trust.
- Discover tips for creating skimmable content with headlines, subtopics, and visuals that make an impact.
- Explore tools like Canva, ChatGPT, and Yoast SEO to streamline the blogging process and optimize your posts.
- Understand the value of a consistent format to simplify writing and boost the effectiveness of your posts.
WordPress Backend – Where You Post Your Blog
This is for the “Just Getting Started” Bloggers.
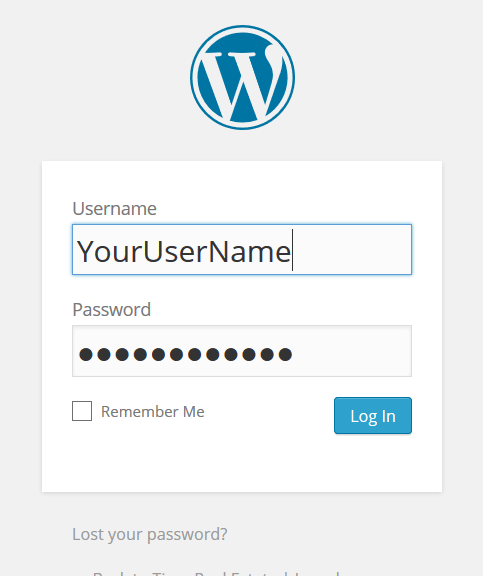
To create a WordPress Blog Post, you’ll need to “Login” to your WordPress Backend. You can find the Login screen by adding /wp-admin to the end of your WordPress domain name –
This will pull up a login screen that looks similar to this:
Once Logged In, you will see the WordPress Dashboard, which looks similar to this:
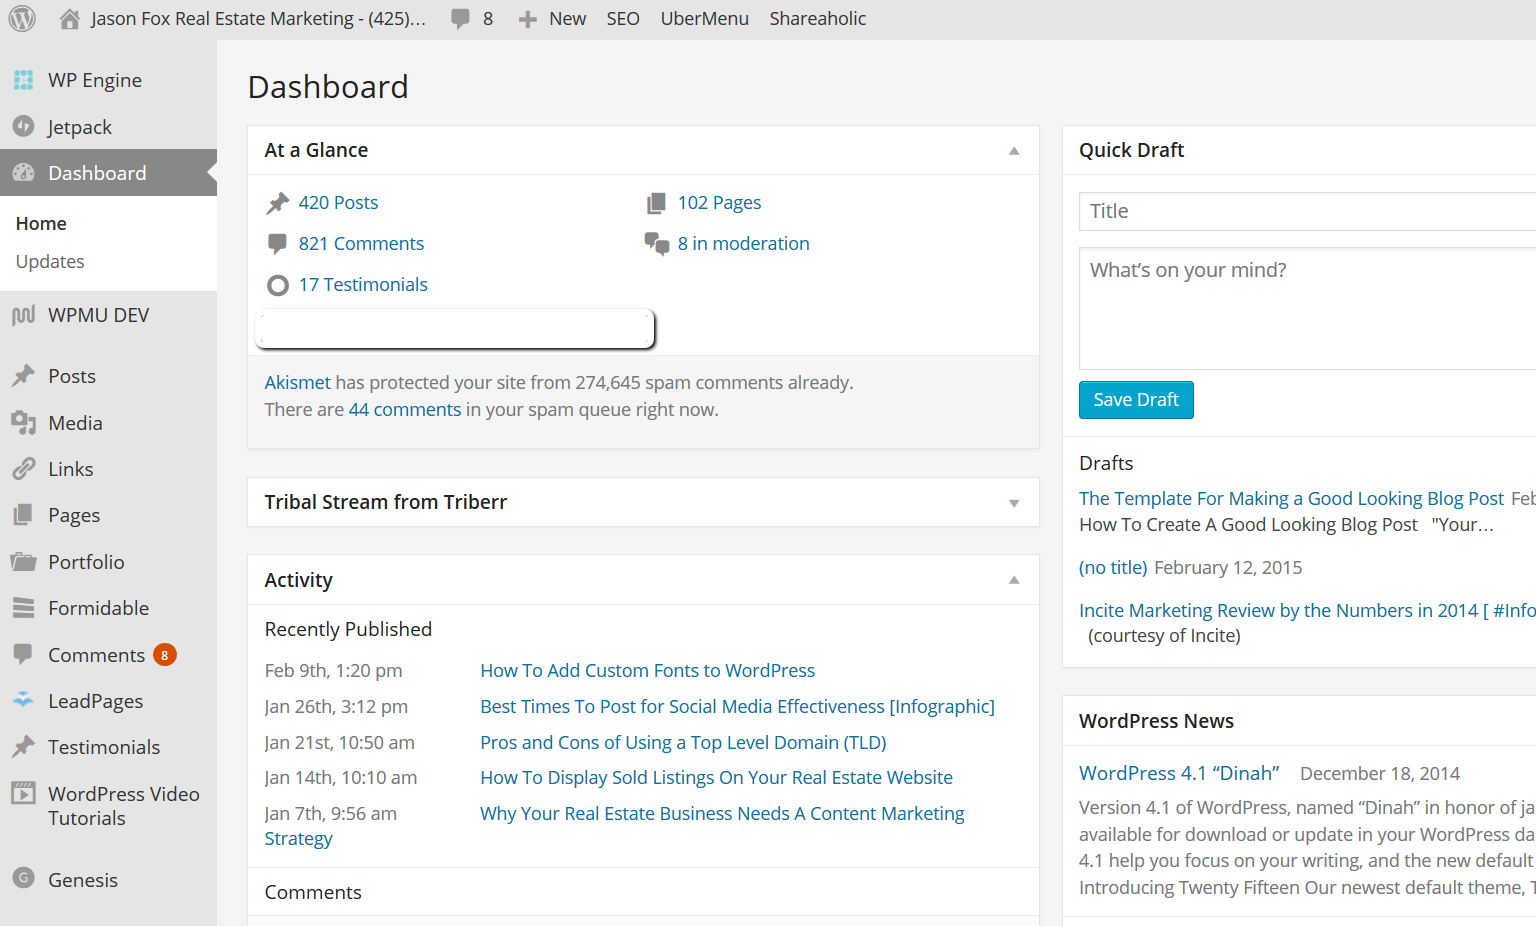
To start blogging, just click on Posts and Add New as shown below. This will pull up a screen that looks like this:
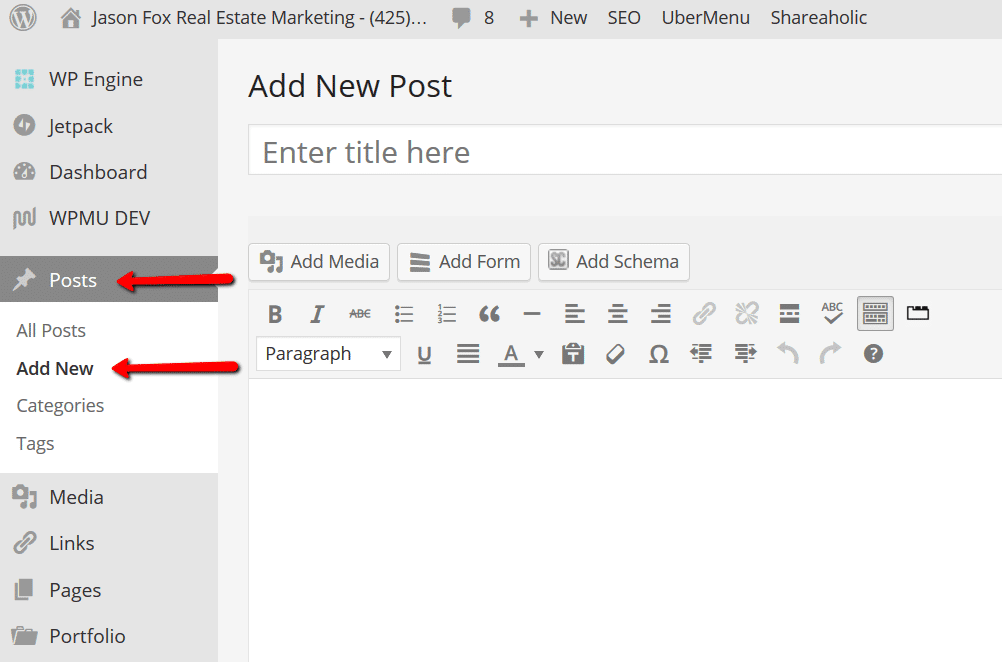
Like a painter, your fresh canvas awaits your artistic strokes.
If you’re looking for extra support with the writing process, AI-driven plugins like ChatGPT for WordPress can help you generate content outlines, suggest headings, and even create draft content directly within the editor, streamlining each step from idea to publish.
Create A Formula or Template
I have a formula for creating my blog posts. Although the content, images, and titles are always unique, the way I format my blog post is always the same.
- Create an Attention-Grabbing Headline
- Include an eye-catching image
- Use a compelling quote or statistic to reinforce the main idea
- Write a brief introduction summarizing the key points
- Organize content into 2-5 subtopics with clear headers (H2 for main sections, H3 for supporting points)
- Add 2-3 paragraphs of content for each subtopic
- Include links to related website content and reputable external sources
- Wrap up with a strong conclusion or final thoughts
- Make sure that you have written at least 1,000 words; longer posts (1,500-2,500 words) often perform better.
There are many helpful tools available to make this process quicker. AI-powered tools like ChatGPT or Jasper can assist with headlines, outlines, and even full paragraphs, giving you more time to focus on personalizing your post. Plugins like Surfer SEO and Frase analyze your blog for readability and SEO as you write, ensuring each post is optimized and polished.
This is my basic formula. It changes here and there, but for the most part, it helps me create a good-looking blog post fairly quickly.
You can borrow mine or find one that you like. Remember, like most Marketing Strategies, there is no perfect idea, so test your ideas to maximize results.
The Steps to Creating the Blog Post
1. I get a blog post idea (usually a client question)
For Example:
-
- What the first step of the home buying process?
- How do I prepare my home before I sell it?
- How long does it take to buy a home?
- When is the best time to sell my home?
- What is a seller’s market?
- How long will it take to sell my home?
- What is a buyer’s market?
- How can I figure out how much a home is worth?
- What is a stratified market?
- Why is my home’s assessed value different than the market value?
- How much do I have to pay an agent to help me buy a house
- Are real estate prices negotiable?
- What kind of credit score do I need to buy a home?
- How much of the sale price do I get?
- How much do I need for a down payment?
- Is paying 6% to sell a home required?
- Should I sell my current home before buying a new one?
- Do discount agents provide the same service as more expensive agents?
- How many homes should I view before buying one?
- What is a home buyer rebate?
- What is earnest money?
- Should I sell my home before buying a new one?
- How long can the seller take to respond to my offer?
- What if my offer is rejected?
- Why do I need a mortgage before I buy a house?
- Should I order a home inspection?
- Can I back out of buying a house?
- Do I need to do a final walk-through?
- How can a real estate agent help me buy or sell a home?
2. I create the title of the blog post (this will be the H1, or Heading 1 tag)
Make sure your title is clear, engaging, and relevant to the topic. A strong headline draws readers in and tells them what to expect.
Important: only use a single H1 header for a blog post as this represents the primary topic.

Pro Tip: Use tools like CoSchedule’s Headline Analyzer or AI suggestions to refine your title. Keep it under 70 characters and make it match what your audience is searching for.
3. I plan my blog post structure with headers
Headers (H1, H2, H3, H4, etc.) not only organize your content but also make it easier for readers to skim and understand. Start with a single H1 for the title, then break your content into sections with H2 headers. If a section has multiple sub-points, use H3 and H4 tags to nest those ideas under the relevant H2.
For example:
-
- H1: What is a Seller’s Market?
- H2: How to Identify a Seller’s Market
- H3: Key Economic Indicators
- H3: Local Housing Market Trends
- H2: How to Identify a Seller’s Market
- H1: What is a Seller’s Market?
4. I add images to complement my content
Images make your blog post more engaging, break up long sections of text, and help convey your message visually. Here’s how to include them effectively:
- Use tools like Canva to create or edit images, adding text overlays or branded elements.
- Find high-quality royalty-free images on sites like Unsplash, or Pixabay.
- Use AI-powered tools like Flux Pro AI (my current favorite), DALL-E or Midjourney to create custom visuals that match the tone of your post.
- If the post is instructional, like this one, you may want to use screen shots instead of photos.
When adding images:
- Place them strategically to enhance the content, such as after introductions, before sub-topics, or alongside statistics.
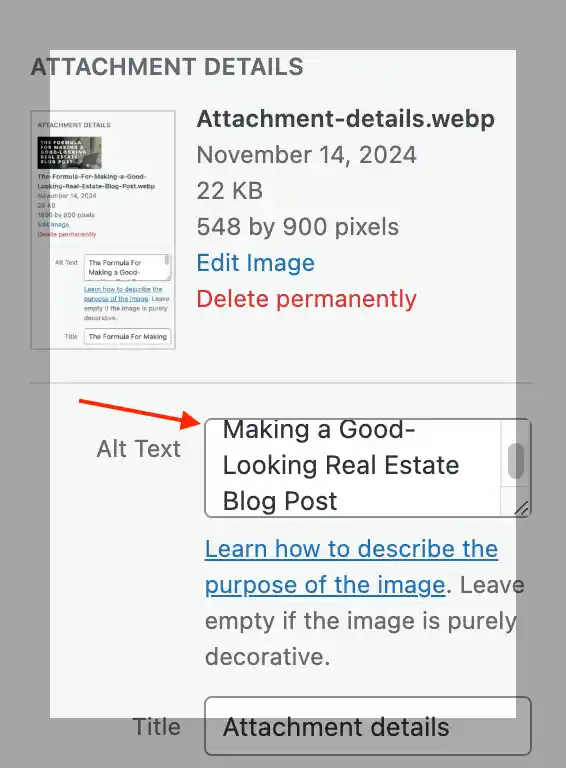
- Make sure to set ALT text for each image. ALT text improves accessibility and boosts SEO by helping search engines understand the image content.
Example: If your blog is about “Preparing Your Home for Sale,” an image of a staged living room with the ALT text “Modern staged living room with neutral decor” adds both aesthetic value and context.
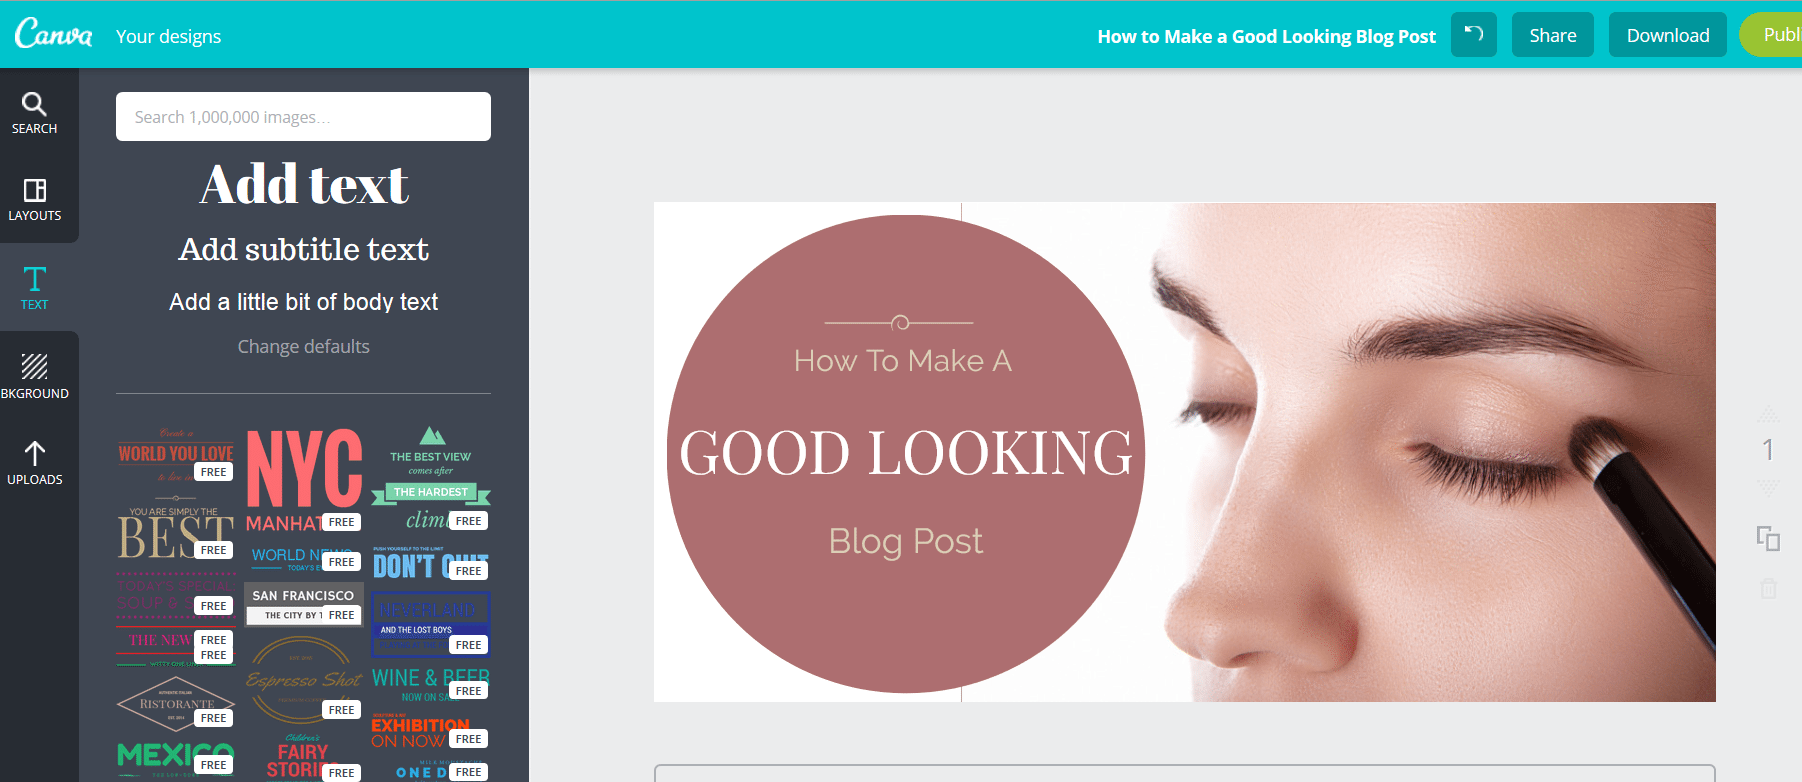
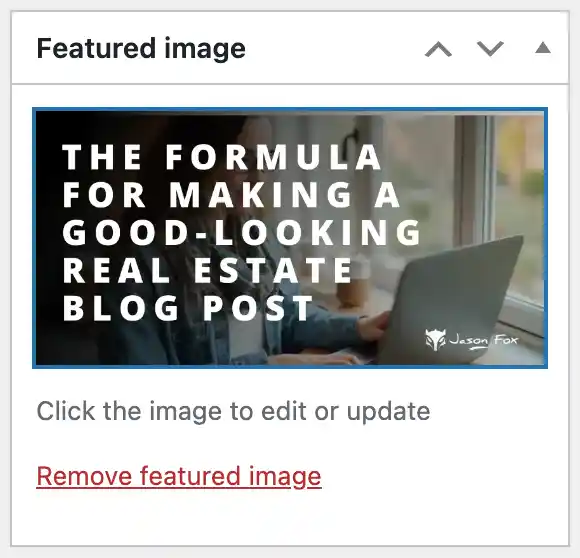
5. I create a featured blog post image using Canva
- Open Canva.com and select a custom size (850px x 400px works well for most blogs).
- Choose a clean, professional template or start from scratch.
- Add your blog title or a relevant keyword as text on the image.
- Include your branding elements, like a logo or consistent color palette.
6. I add the image to the “Featured Image” link of my post.
- (making sure to add a keyword to the ALT Text tag area)
7. I write an introduction that hooks the audience
Write a few paragraphs explaining what your blog post will be about and why it matters. The introduction should answer questions like:
- Why should the reader care?
- What value or solution will they get from reading your post?
Try to add a statistic or a question here to keep things interesting.
8. I add my first Sub-Topic Heading and wrap it in H2 tags
This will be the first main point of your blog. Make sure it aligns with the title and gives the reader a clear idea of what’s coming.
Use H3 tags for any sub-points or deeper explanations under the main sub-topic.
9. I write 2-5 paragraphs of content under each sub-topic
Break the content into manageable chunks. Use short sentences, bullet points, and bold text to emphasize key ideas.
Pro Tip: Add interactive elements like infographics, videos, or even an AI chatbot to provide additional depth to the section.
10. I repeat steps 8 & 9 for additional sub-topics (2-5)
Each sub-topic should build on the previous one to provide a complete answer or solution. Try to naturally include internal links to other relevant posts or pages on your website for added value.
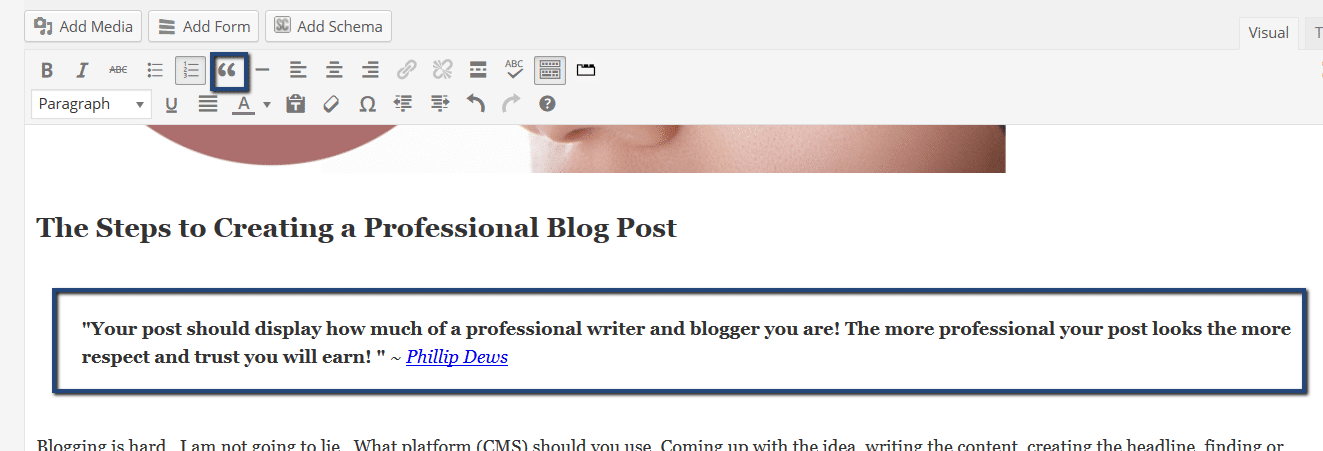
11. I search for a relevant quotation or statistic to support my idea
This step is optional depending on the blog post topic you are writing but it’s a great addition. Quotes and statistics add authority to your post. You can find them through tools like Statista or trusted industry blogs.
When adding a quote used the WordPress block quotes feature to highlight this information.
12. I add links to external sources and my own content
- External links to credible sites improve trustworthiness.
- Internal links help readers explore related topics on your site and improve SEO.
13. I type the word ‘Conclusion’ or ‘Summary’ or ‘Final Thoughts’ and wrap it in H2 tags
Summarize the blog post in a few sentences. Restate your main points and leave your reader with something actionable or thought-provoking.
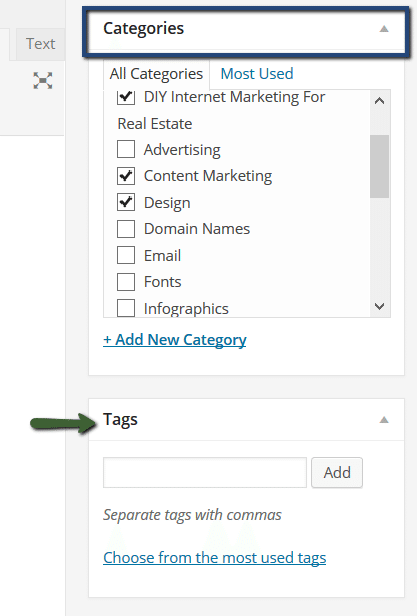
14. I Select a Category OR Tags for the blog post (I use categories)
Categories help organize your blog, while tags make it easier for readers (and search engines) to find related content.
15. I use a plugin called Yoast SEO to make sure that I am remembering to Optimize my blog post for the search engines
Once installed the tool can be accessed at the very bottom of your blog post page, and looks like this:
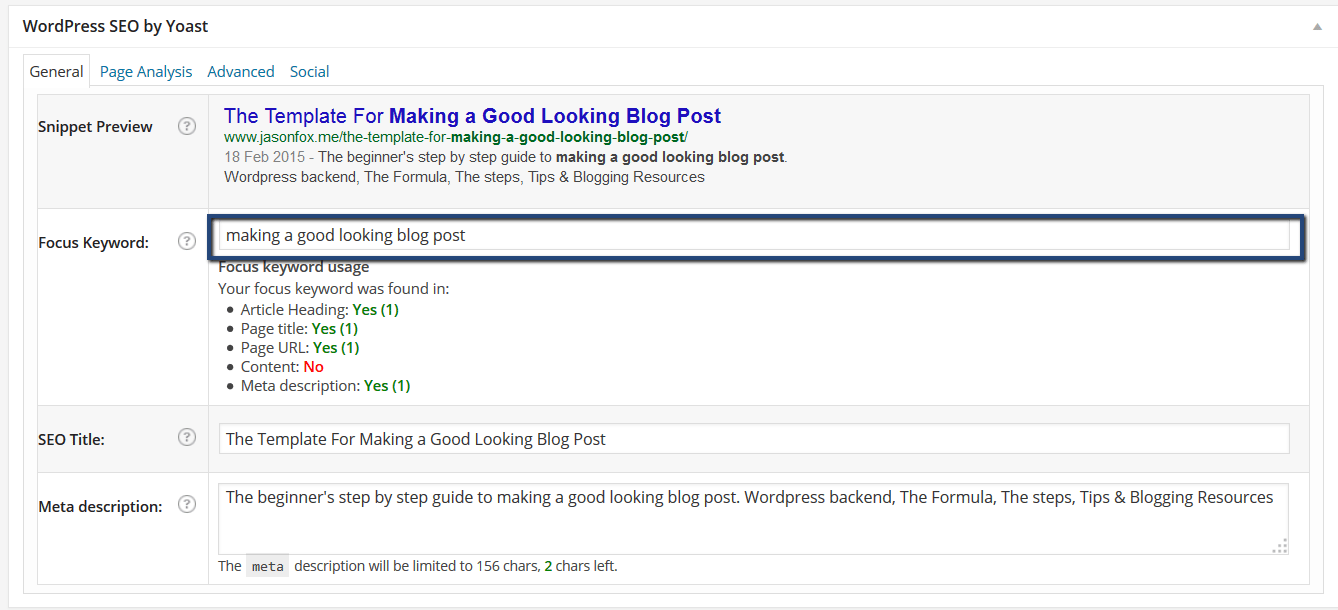
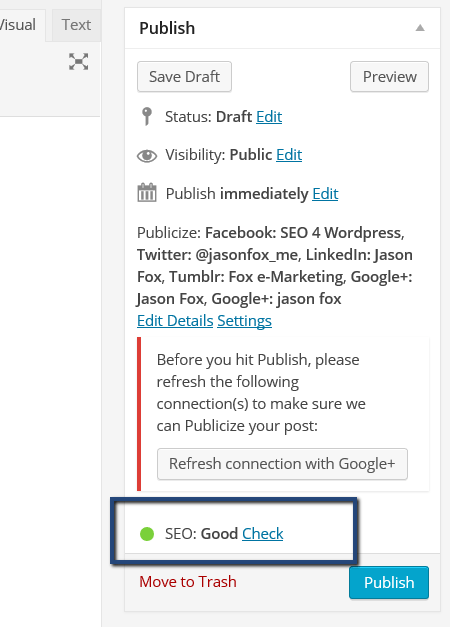
16. Before publishing, I use the Yoast SEO plugin to enter my desired keywords and check if my blog post is fully optimized
17. I re-read my blog post for grammatical errors, formatting issues, and clarity. Then run a spell check
Look for grammatical errors, readability issues, and awkward formatting. Run a spell check and make any necessary revisions.
Pro Tip: Use tools like Grammarly to catch advanced grammar and style issues. It can help refine your tone and flag awkward sentences, ensuring a polished post. Additionally, reading your post out loud can help you identify missing words or awkward phrasing that tools might miss.
18. I publish my post or schedule it to post to a future date
Timing can be everything, especially if your blog aligns with seasonal trends or current events.
Tips For Making A Good Looking Blog Post
- Write with your readers in mind first—focus on creating valuable, engaging content.
- Keep SEO in mind as you prepare your post, but let it enhance rather than dictate your writing.
- Don’t have more than 3 sentences in a paragraph.
- Be sure to use bold, italic, bullets points, numbers, lists, indent, caps, etc to break up the text.
- Make sure to set up your blog post so that it is easy to skim.
- Don’t forget to add your Featured Image.
- Add at least 1 link to your website content (reference another blog post, about page, etc.).
- If you add video, remember that Google can’t “see” it. Transcribe the video below it. For a quick and free option use YouTube Transcript.
- Add an actionable item (In this post, I provided a link to subscribe for a free ebook).
- The Title or Headline is essential.
- Aim for a minimum word count of 1,000 words, but try to go longer if you can. The most important thing is you answer the main points thoroughly.

- Don’t be afraid to add Sub Sub Headers (H4 tags).
- Include Social Sharing buttons so readers can share the post with their friends.
- Use AI tools to enhance your content. Tools like ChatGPT can help generate fresh ideas or improve sections of your post. Try prompts like, “Give me five creative blog post introductions for [topic],” or, “Suggest alternative titles for a blog post about [topic].”
Resources
- The Necessities of Successful Real Estate Blogging
- Turning Your Emails Into Blog Posts
- Turning Real Estate Videos Into Blog Content
- Recycling Your Old Blog Content
- 110+ Real Estate Blog Topics
- Yoast WordPress SEO Plugin
- Canva.com
- HubSpot Blog Ideas Generator
- ChatGPT or Claude.ai
- Surfer SEO for Content Optimization
- DALL-E for AI-Generated Images
Conclusion
Becoming a good blogger can generate high-quality leads for your real estate business. This, I promise you.
What I can’t promise is that the journey will be easy. Blogging is a long and tedious process that will test your patience and persistence.
However, having a solid process for creating good-looking blog posts can make the journey smoother and help you achieve your goals faster.
The latest tools can simplify many steps, but your personal touch remains the most important element. By blending these tools with your unique perspective, you can create posts that are engaging, visually appealing, and optimized for success.
I’ve shared my formula, steps, tips, and resources to help you along the way. With consistency and effort, you can become a World-Class Real Estate Blogger.
FAQ: Crafting a Good-Looking Real Estate Blog Post
Why does my blog post need to look professional?
A professional-looking blog post builds credibility and trust with your readers. It reflects your expertise, keeps readers engaged, and helps establish your authority in the real estate industry.
How long should my blog posts be?
Aim for at least 1,000 words to provide value and depth, but posts between 1,500-2,500 words often perform better for SEO and reader engagement. Focus on answering your audience’s questions thoroughly.
What is the best way to structure my blog post?
Organize your content using headers:
- Use a single H1 for the title.
- Use H2 headers for main sections.
- Use H3 and H4 headers for sub-points or detailed explanations.
This structure makes your post easy to read and skimmable for your audience while improving SEO.
How can I make my blog post visually appealing?
Incorporate images to break up text and convey your message visually. Use tools like Canva to create or edit images, and include ALT text for accessibility and SEO. For custom visuals, try AI tools like DALL-E or Midjourney.
Should I use AI tools when writing my blog posts?
Yes! AI tools can streamline the process. Use ChatGPT or Jasper to brainstorm ideas, generate headlines, or refine your writing. AI tools like Surfer SEO or Frase can also help optimize your post for readability and search engines.
What are the must-have elements of a successful blog post?
A successful blog post includes:
- An attention-grabbing headline.
- A compelling introduction.
- Subtopics with clear headers.
- At least one high-quality image.
- Links to internal and external content.
- A strong conclusion with an actionable takeaway.
How can I optimize my blog for SEO?
Use tools like Yoast SEO to optimize for keywords, readability, and meta descriptions. Add internal and external links, include keywords naturally in your text, and ensure all images have ALT text.
Why is skimmability important in blog posts?
Most readers skim blog posts rather than reading every word. Use short paragraphs, bullet points, bold text, and headers to make your content easy to scan while highlighting key points.
How can I generate ideas for real estate blog posts?
Pull inspiration from:
- Common client questions (e.g., “How do I prepare my home for sale?”).
- Tools like the HubSpot Blog Ideas Generator.
- AI tools like ChatGPT with prompts like, “What are some blog topics for first-time homebuyers?”
What should I do after writing my blog post?
Re-read your post for errors, formatting, and readability. Use tools like Grammarly for grammar checks and read the post out loud to catch awkward phrasing. Once polished, publish or schedule it at an optimal time for your audience.

Written by : jasonfox
Jason Fox - Real Estate Marketing
Business: We build WordPress Real Estate Websites with IDX
Me: #GoHawks, #BringBackTheSonics, #MaybeNextYearMariners, #ILoveMyKids #SeattleSunLover #SeattleWaterLover #BFF
Blog: Focuses on Wordpress Websites, Content Management, SEO Services, SEM Campaigns, Social Media Marketing, Email Marketing, Beautiful Design, IDX, and more.
Well, that’s a very comprenhesive and very easy to understantd and follow article. Thank’s for sharing. I use WordPress to buils websites for clients and I will surelly follow your steps when I write for them and, of course, I wlll educate them ….
Thank you Tasos. I hope it helps build your reader base.
these templates is very nice becouse it has seo checker also…and option also good
Thanks for stopping by
Wow,so much useful information for the non technical! Thank you
Thank you Cindy.